Parts:
Carbon Express Maxima Red 250 spine arrows
easton glue
bohning arrow wraps
bohning blazer vanes
Carbon express inserts, bulldog collars, nocks.
acetone
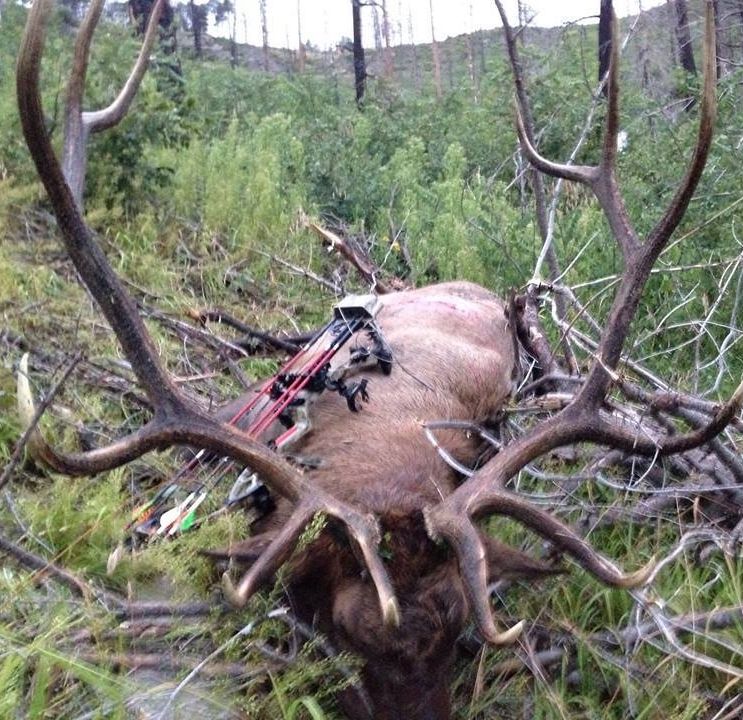
I will be using slick trick broadheads for big game hunting. The end weight will be around 410 grains to 435 grains depending on the head I decide to use.
Traditional bows would have a higher grain weight than this. Some people recommend heavier than these with a compound for big bodied animals, but these zip straight through at 60# draw with a well placed shot.
tools:
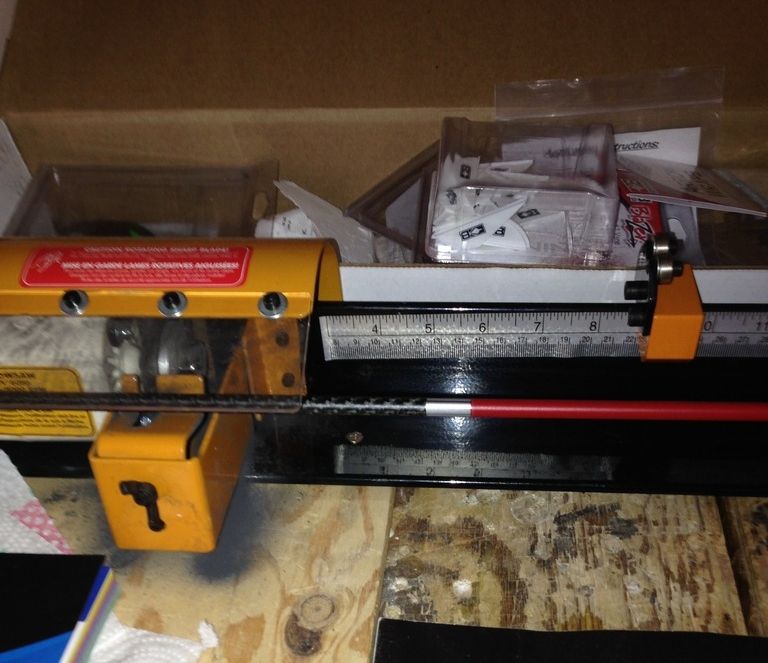
weston arrow saw
arizona EZ fletch jig right helical
Q-tips
paper towels
First, I cut the shafts to length. These will be 29" all shafts uncut are around 30-32 cutting them shorter allows for better performance depending on your draw length/weight. Once the saw cuts through fully I square the end against the flat section of saw, so that the inserts will sit flush on against the tip. This saw is an arrow saw, it's dangerous to use anything else to cut your carbon arrows. You can build dremel type saws on your own, but be cautious.
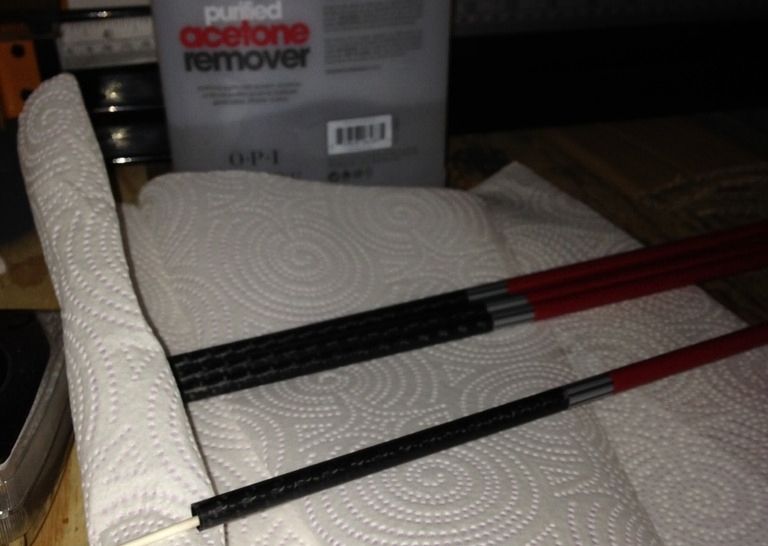
Second, I clean the inner part of the tip with a q-tip soaked in acetone to remove factory film and provide a better surface for the insert to stick to. At this point I'll clean off the film from the nock end of the arrow where the fletchings and wraps will sit.
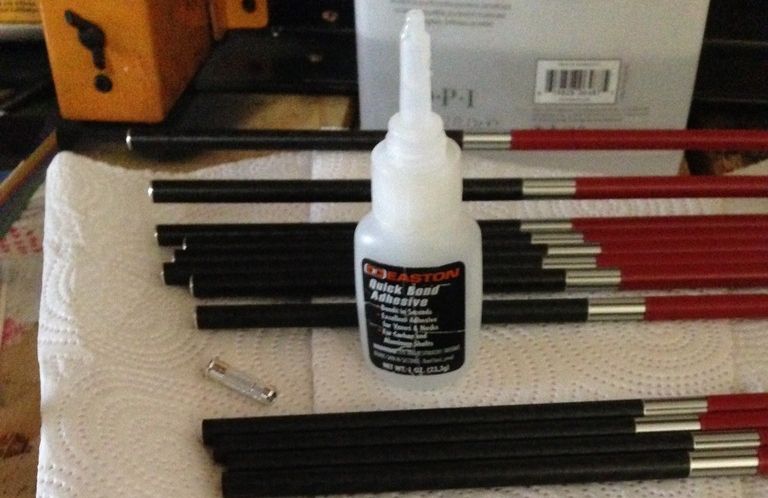
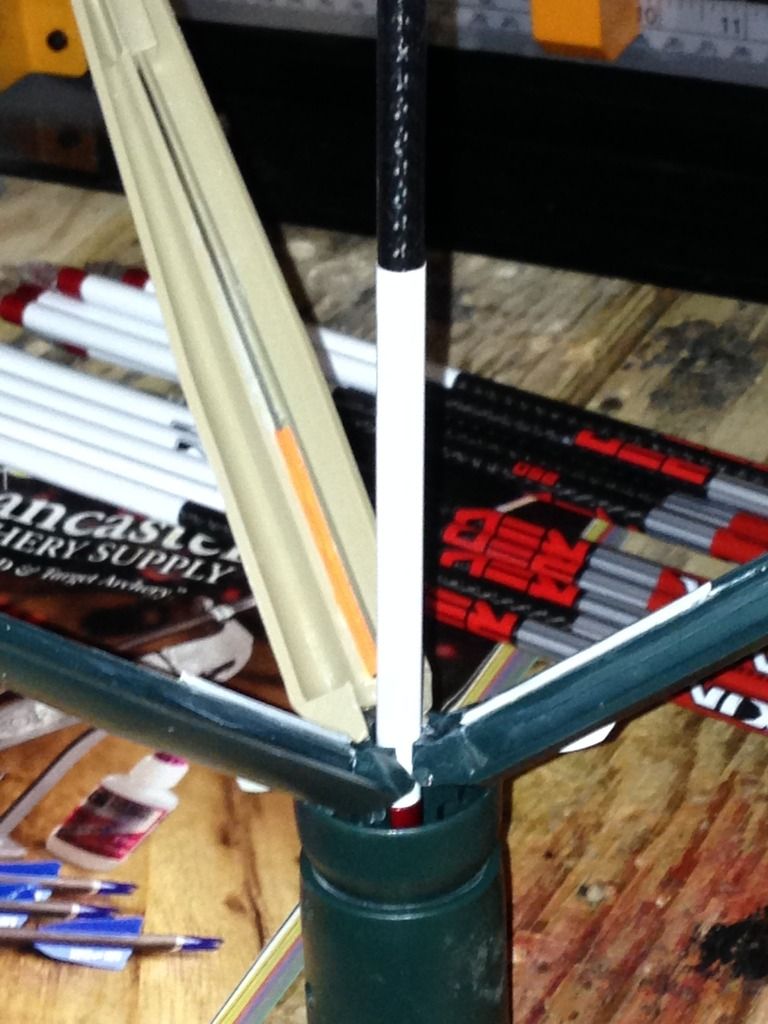
Then when dry I glue the inserts into the shaft. It really doesn't take much glue to hold them in, so I will put a small sliver down one side of the insert then rotate it as it goes in to spread the glue around. These inserts click in and sit flush. You can see the shaft with and without the insert in the next picture.
Third, I apply the wraps to the arrows. I use these in case a vane gets damage, or torn off. Then instead of having to scrape glue and risk also damaging the arrow shaft I can just put a new wrap on and refletch easily. Plus the white wrap will help verify a hit location when hunting. Lung blood is bright red/pink with bubbles, liver will be dark red, paunch will be yellow/brown with some red, and a miss will obviously remain white.
I use a catalog, but anything soft and malleable will help get an even stick.

Then clean the factory film off the bottom of my vanes and the wrap with acetone for a better adhesion (careful on the wrap if it has pictures the acetone will fade/remove it).
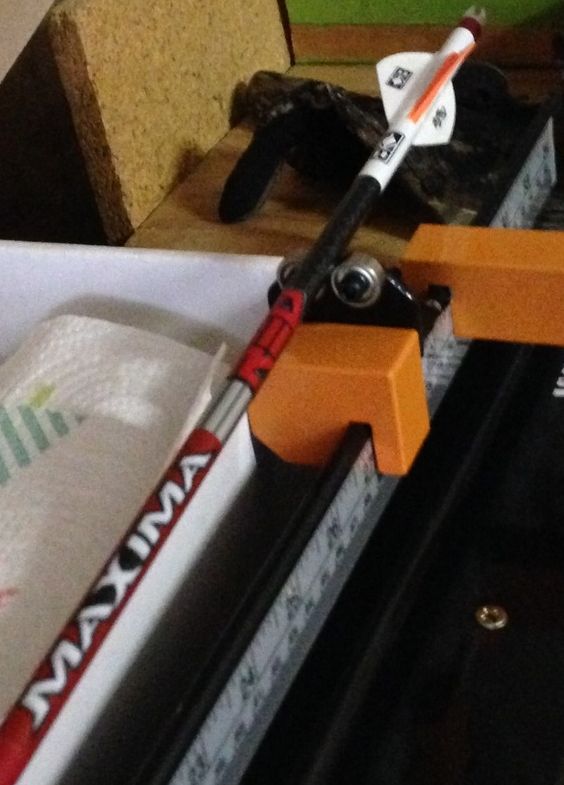
I'm using an arizona ez fletch, but there is a lot of other jigs out there to use. This is just the least time consuming for me, and I'm a little impatient
This jig clamps shut then is capped and hung up to prevent glue dripping into the springs inside.
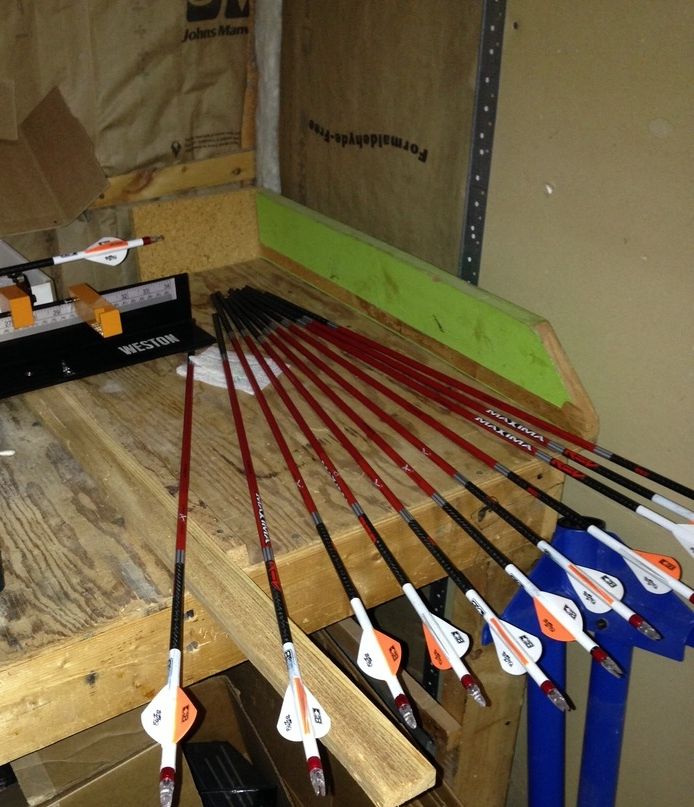
After a couple minutes I pull the arrow from the jig.
The fletching is right helical so the vanes rotate around the shaft slightly. This forces the arrow to spin in flight. The arrows on the bench are for something else, but i guess it helps show where it rotates hahaha
Finished.. Some of them have blemishes and small errors, but that gives each one a little character. Then the surviving few from the next few months get to hunt with me
Then the expected result of these arrows...